
How to Create new Doc/Manuel
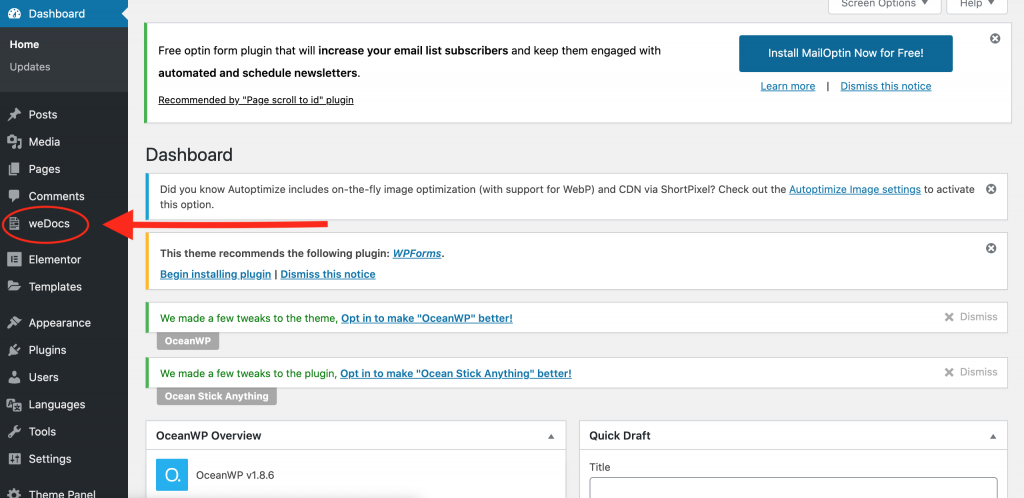
Since this Documentation site comes with WeDocs already installed, You will not have to worry about locating and adding this plug-in to your website! On the wp-dashboard- you should see >WeDocs . It will look something like this
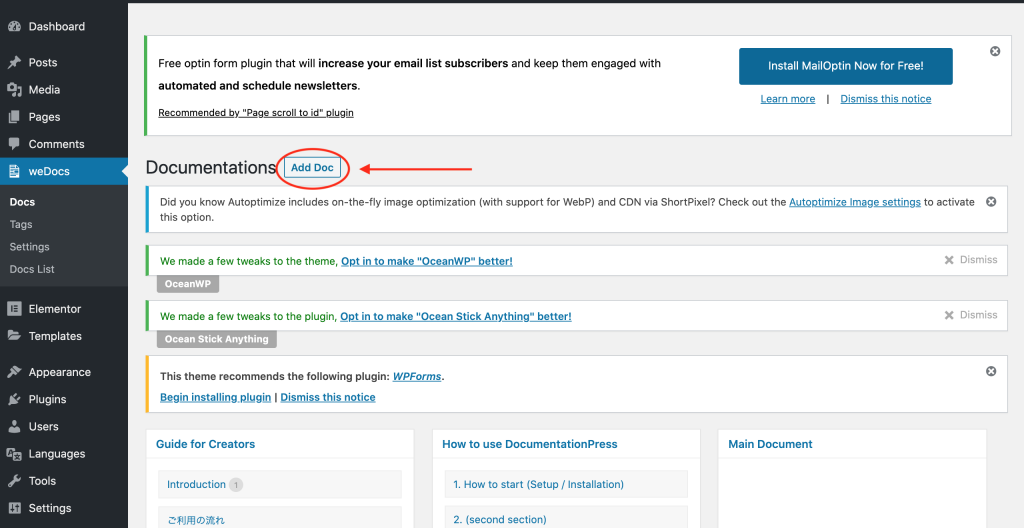
After Clicking, you Should see a blue outlined
button that says “Add Doc” as seen below
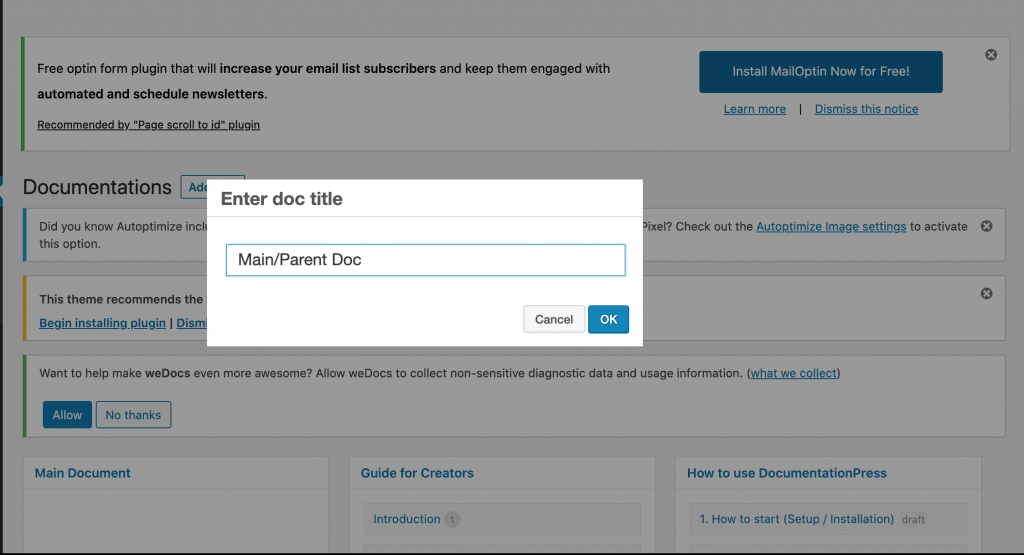
Enter the Name/Title of your Doc which will make the Main/ Parent Doc
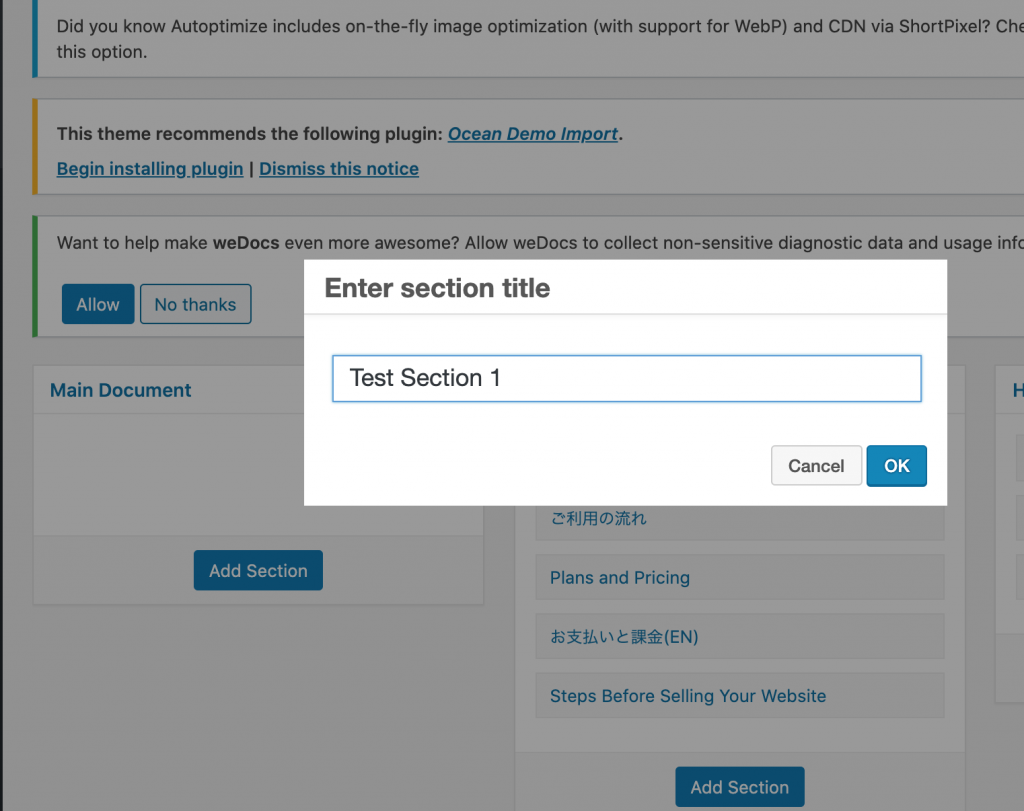
You can add as many sections or articles as you want with in the parent Document just by clicking the “Add section” button as seen below.
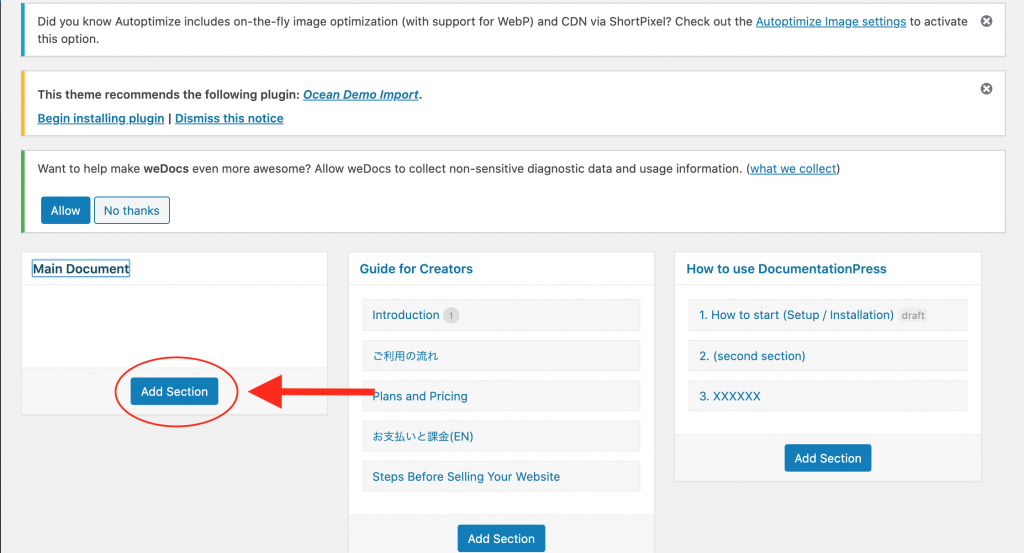
You can also give a title to each new section you create.
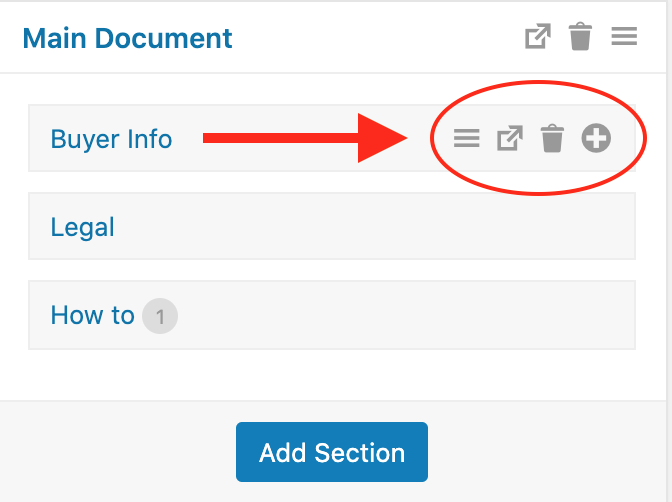
After creating a new article you get serval options like
- Create Sub Article
- Delete the section
- Preview
- Reorder
And there you have it! You now know how to document you or your client’s Product/Service on WordPress. Keep reading to learn how Documentation Press Organizes your documents.